Oops, I meant “BRICK” – bare brick
makeover. MADE-YA-LOOK!
Hellloooooo. It’s been awhile! My two oldest kiddos are back in school, so I have a little more TIIIIME and it feels SO GOOD. I wanted to post about a little project we did over the summer. Get excited!
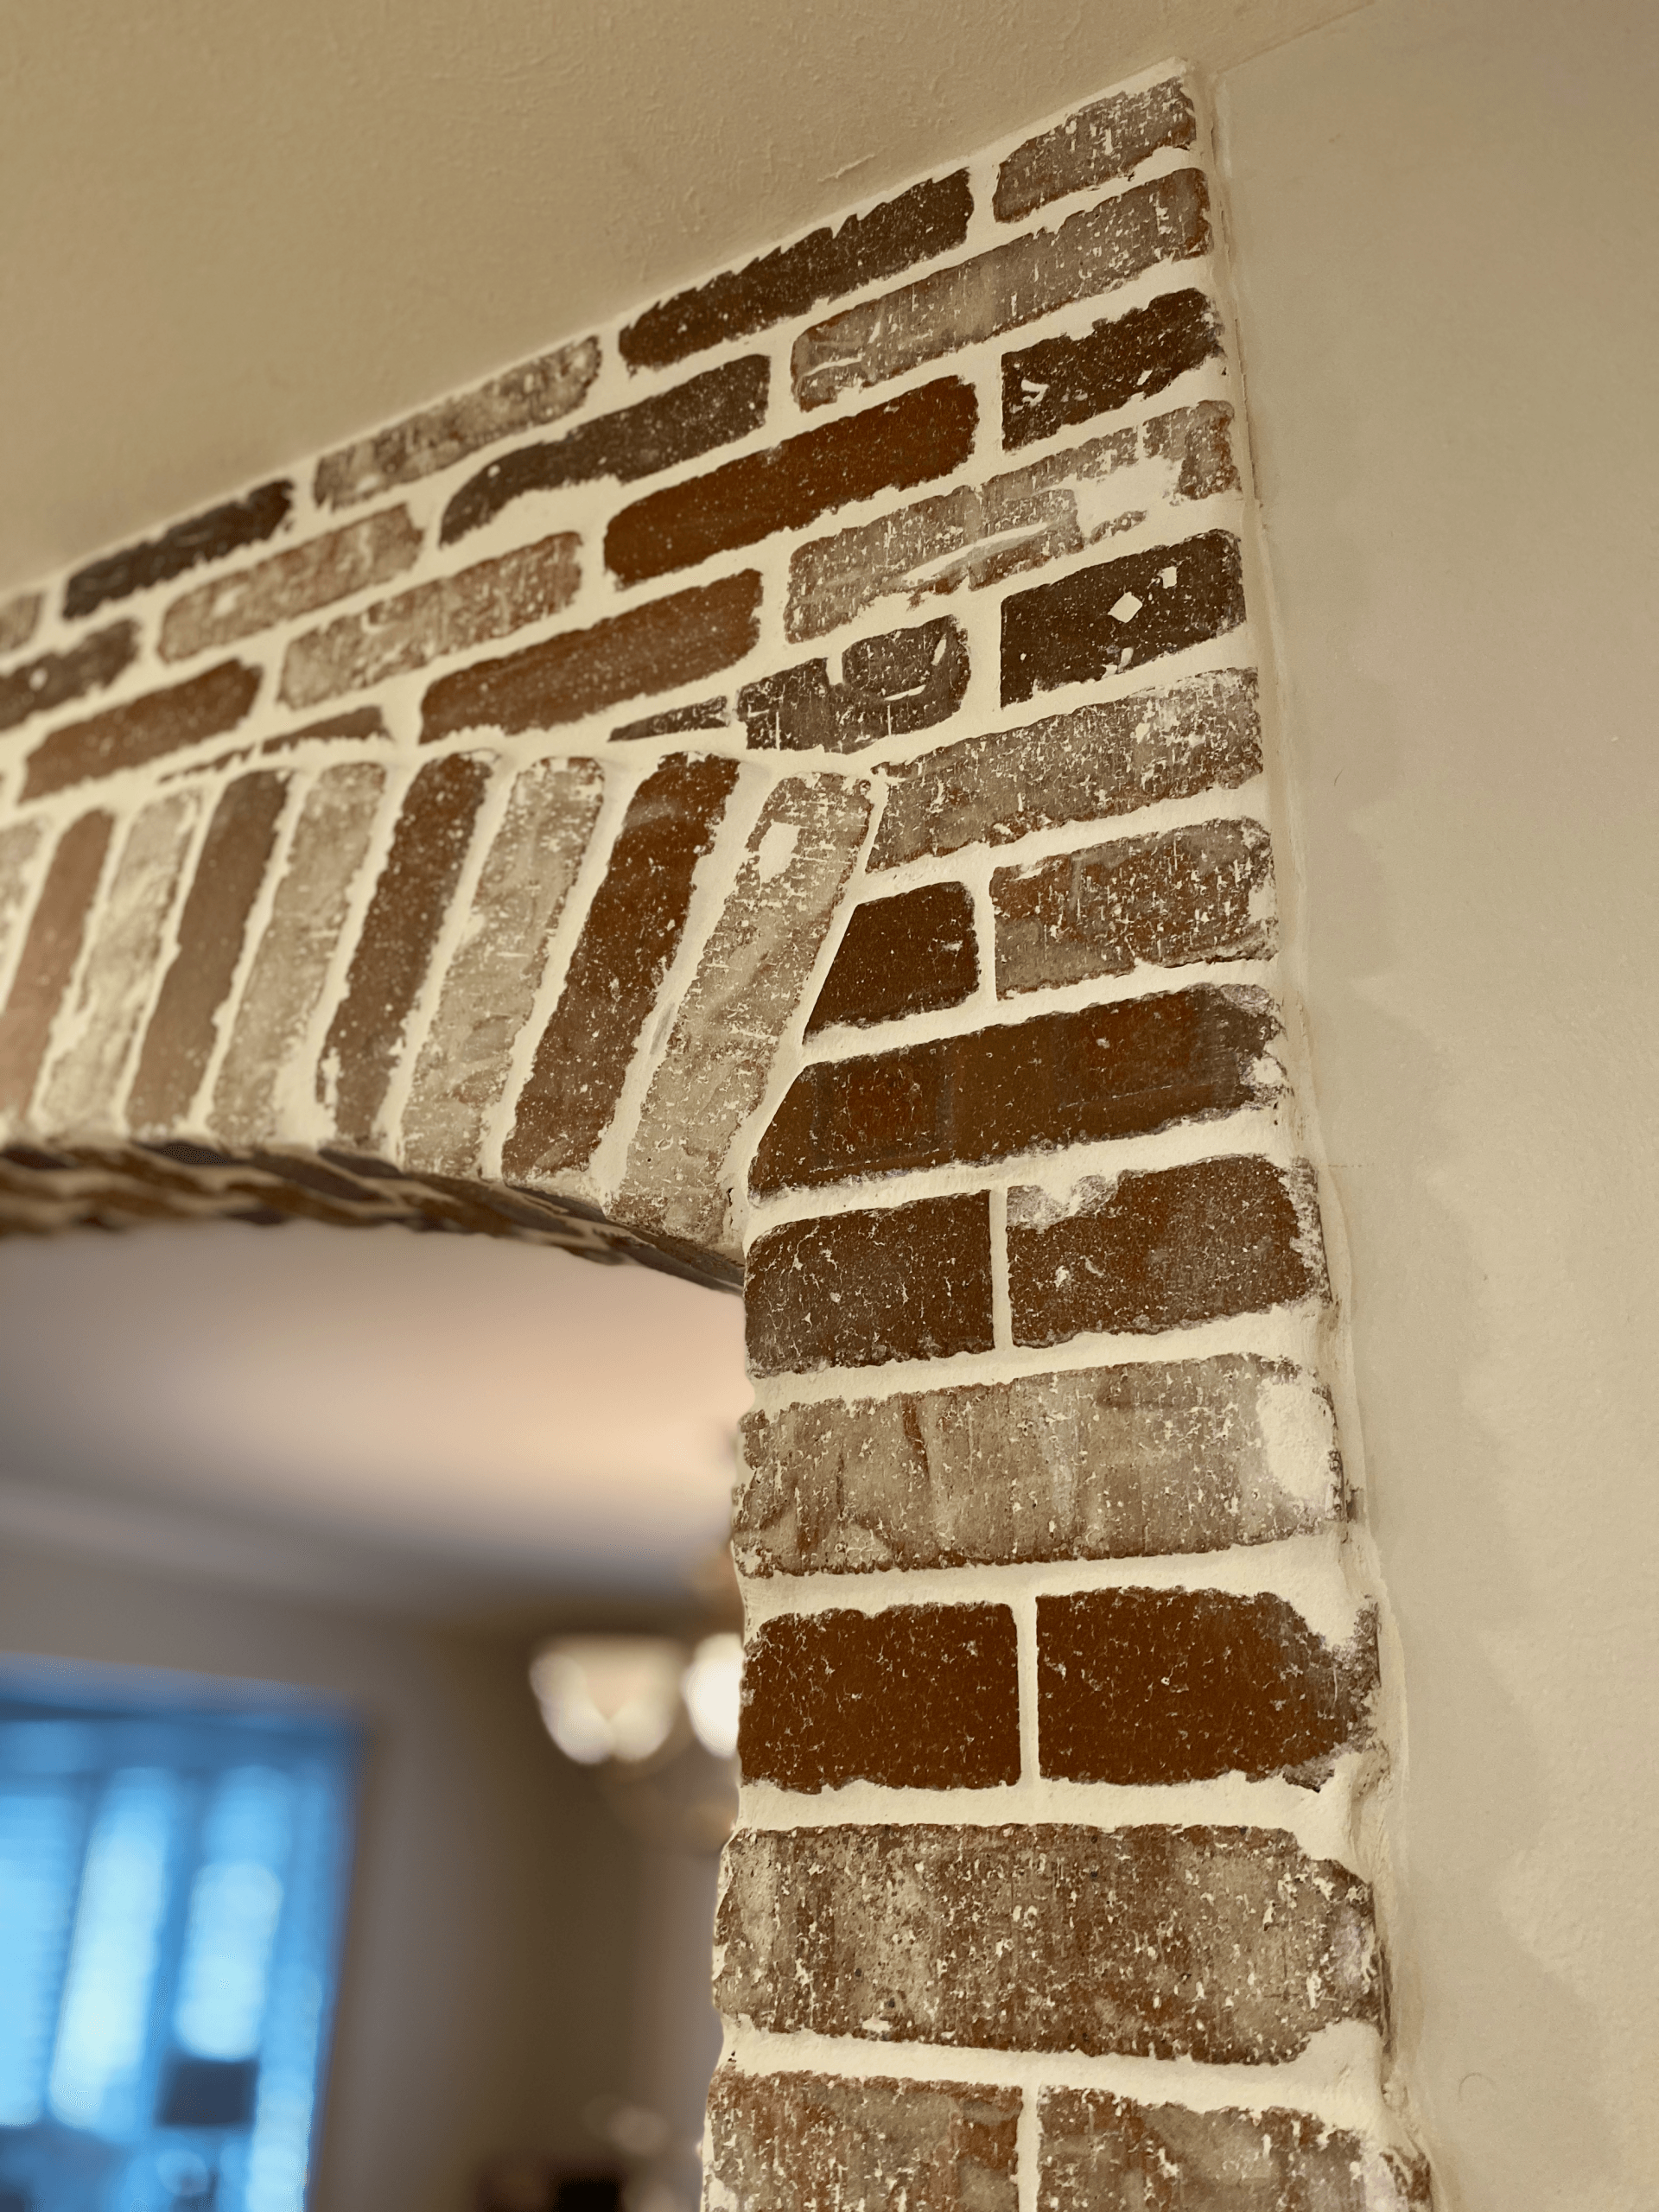
There was this plain ole brick section on our back patio that just was calling for some lovin’! Seeee…

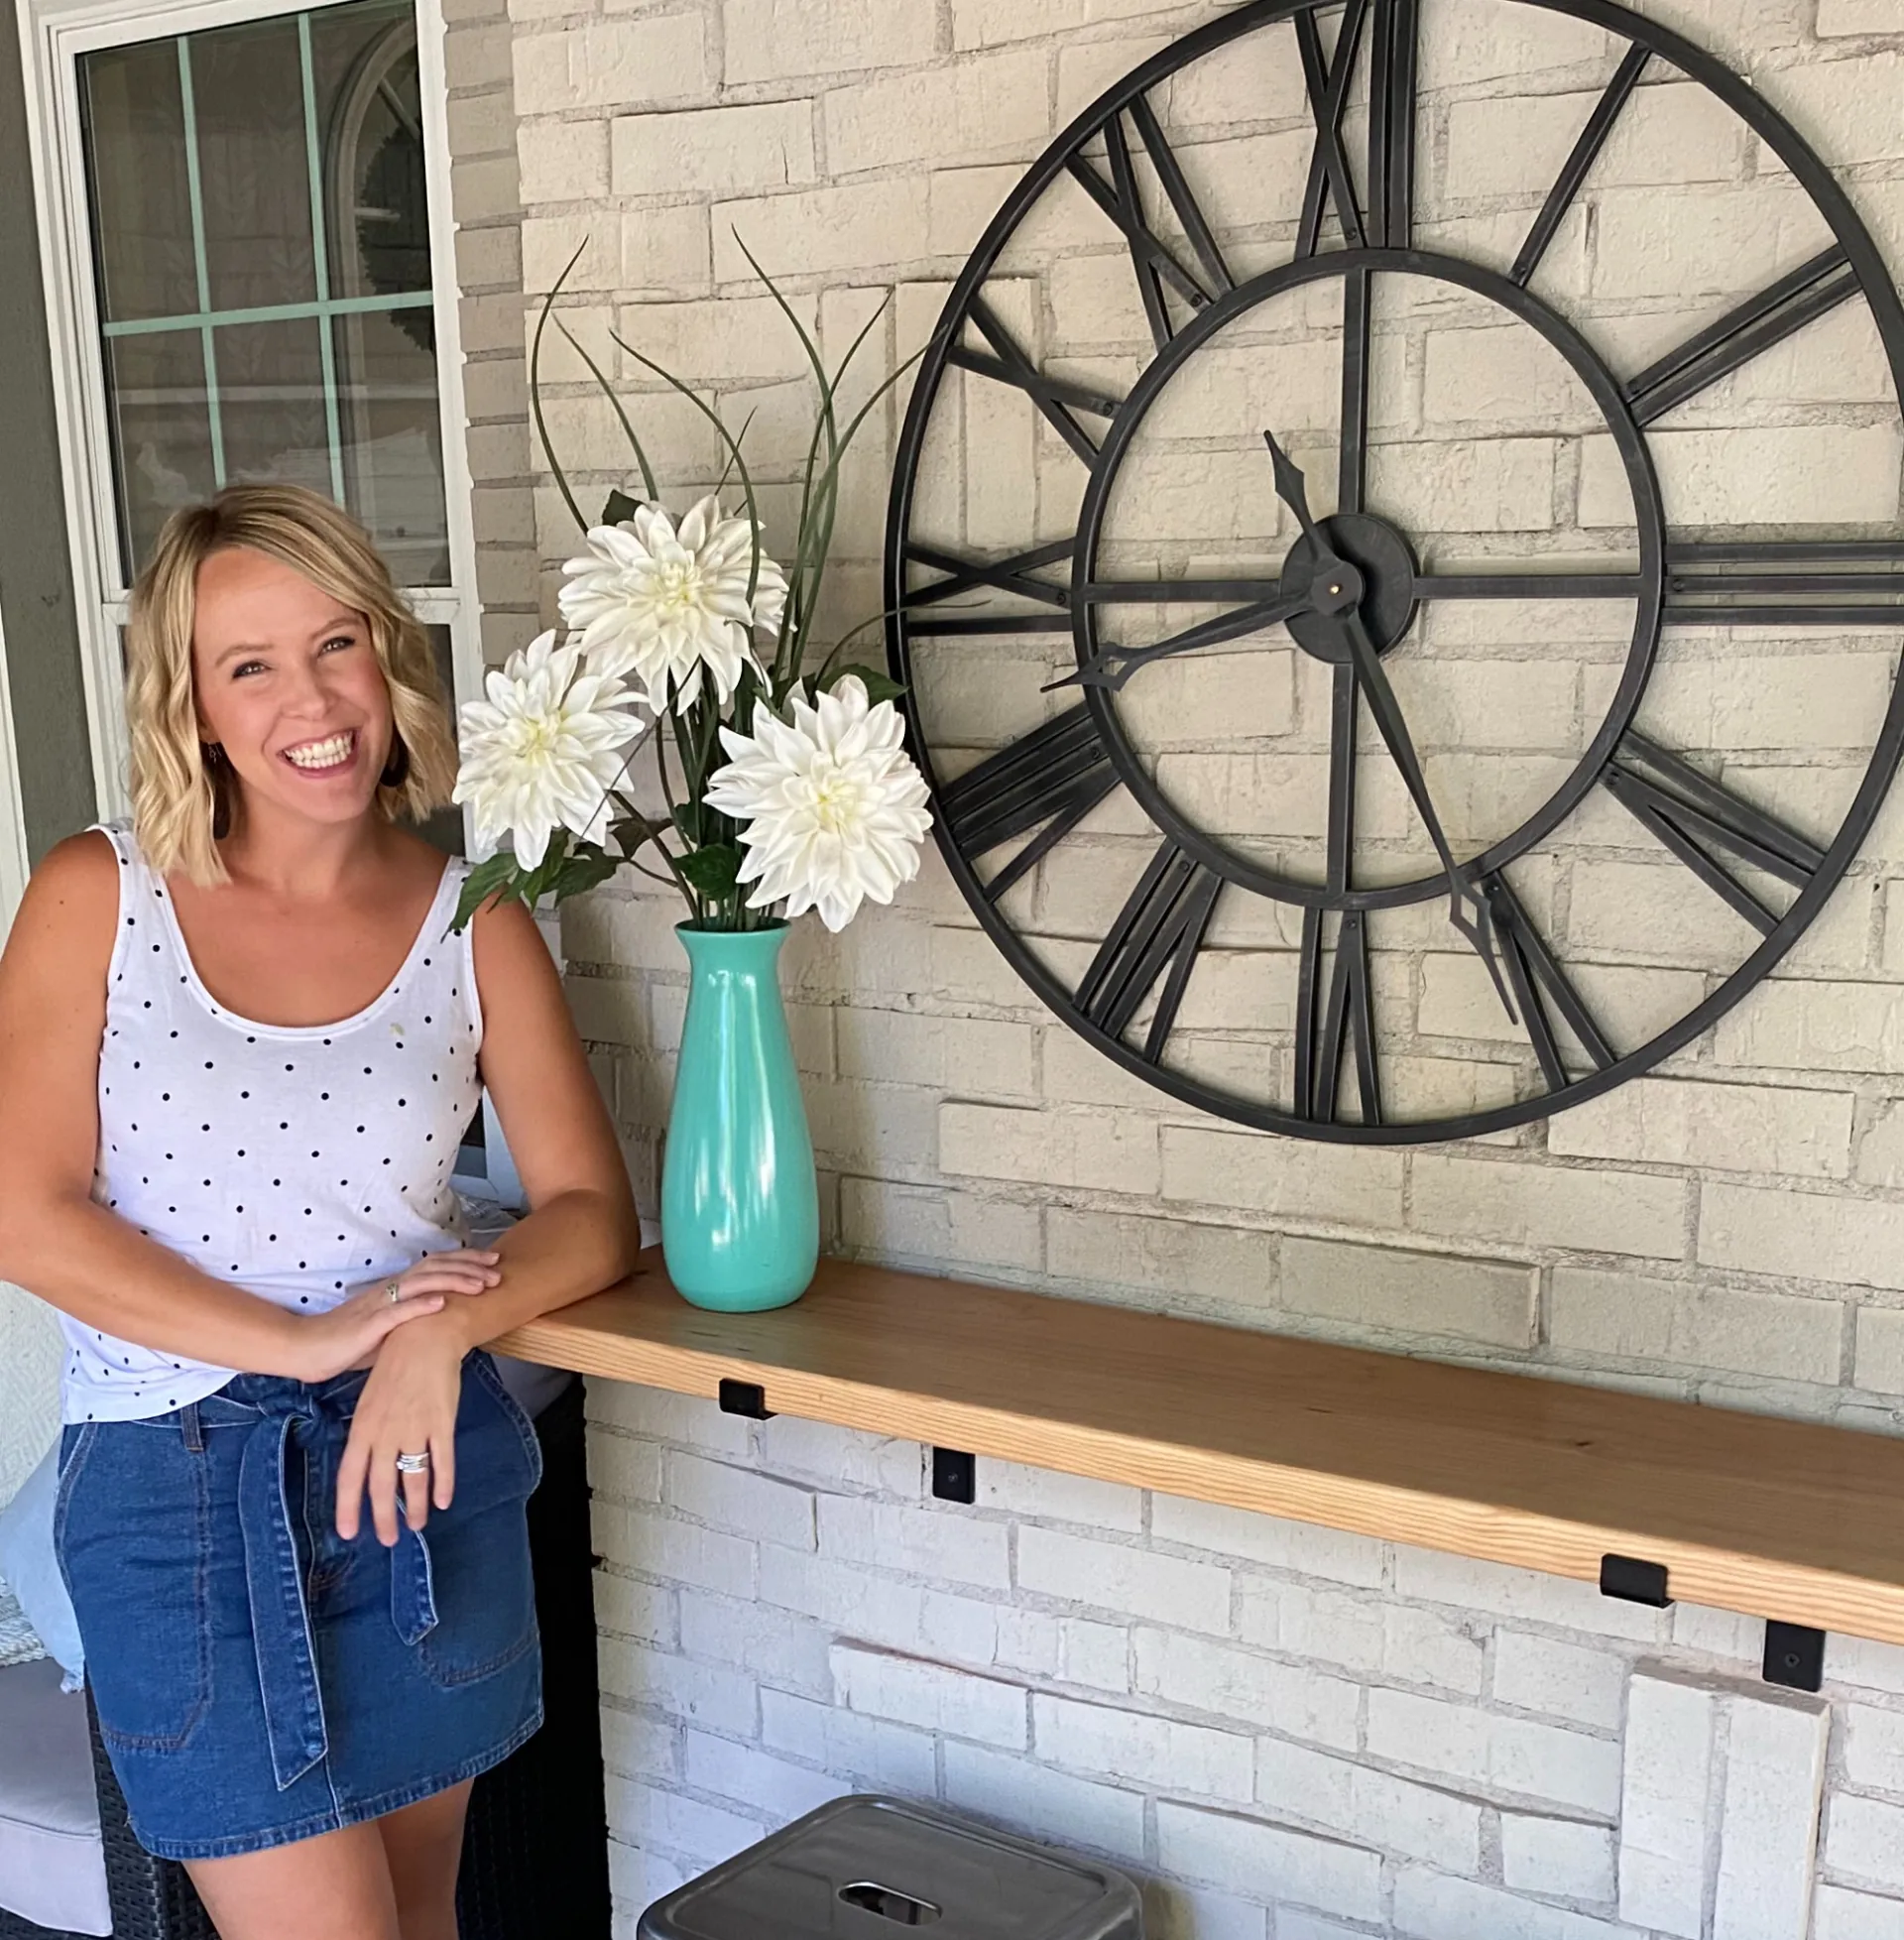
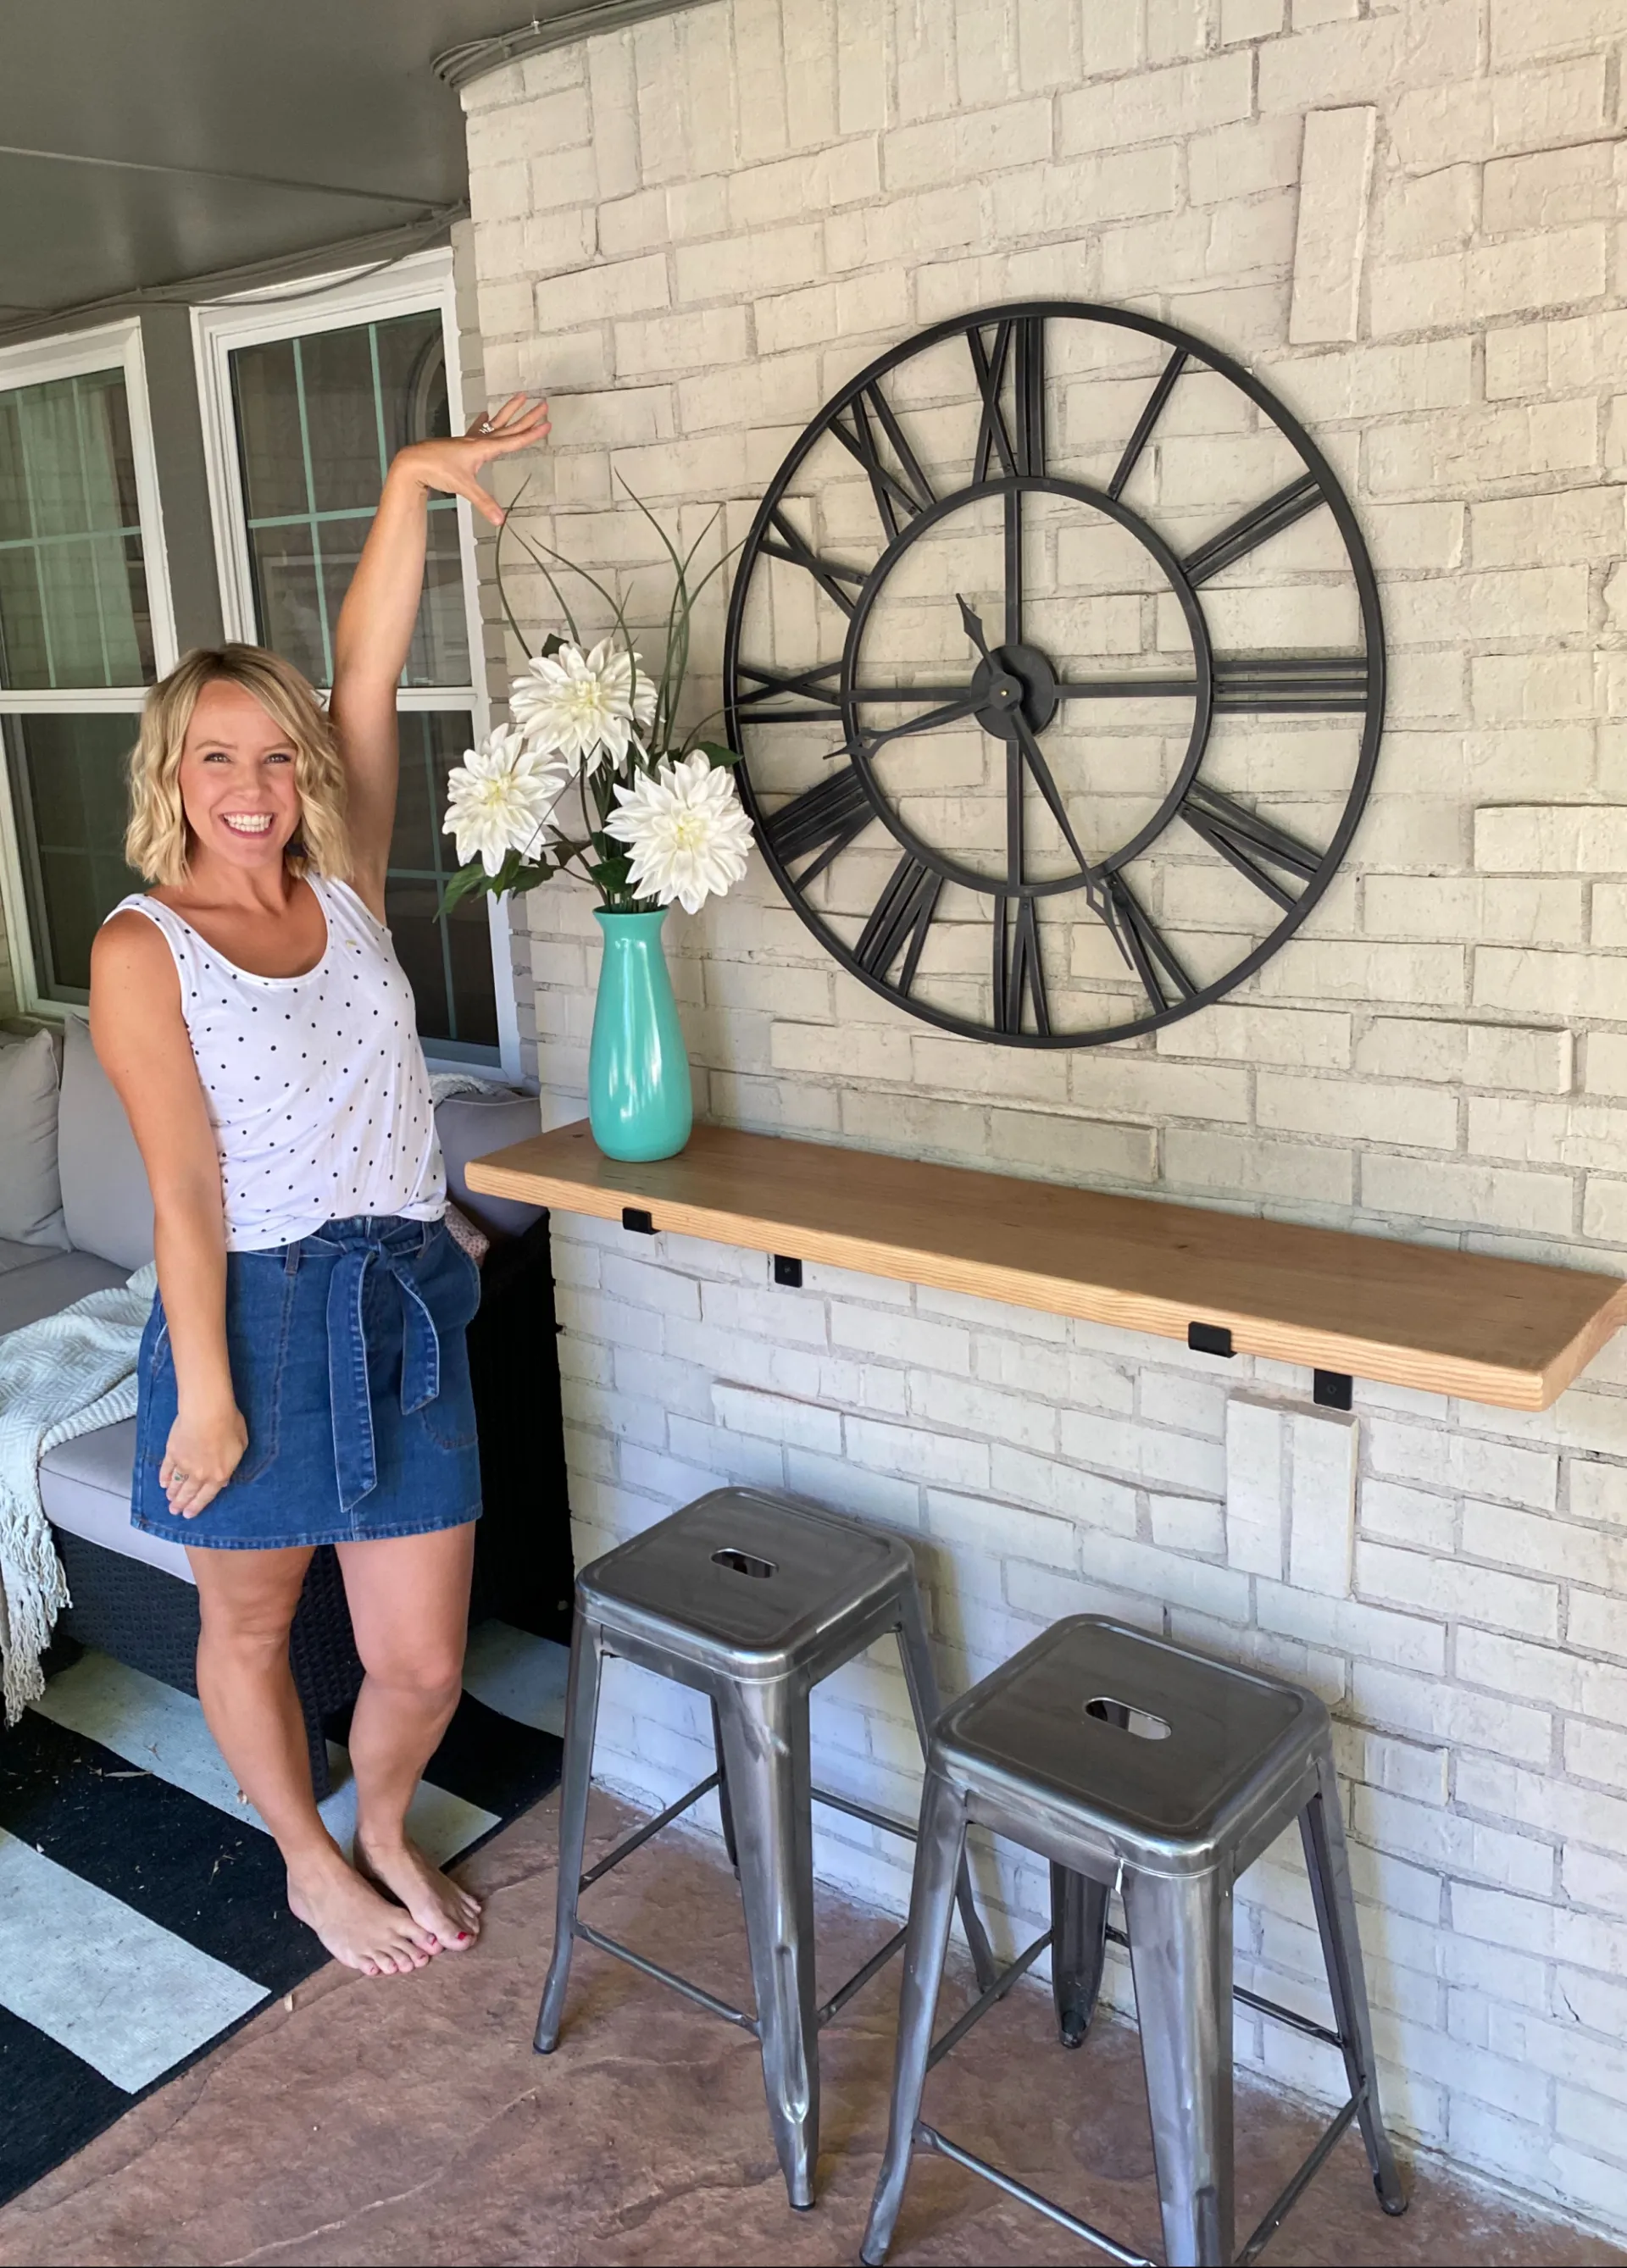
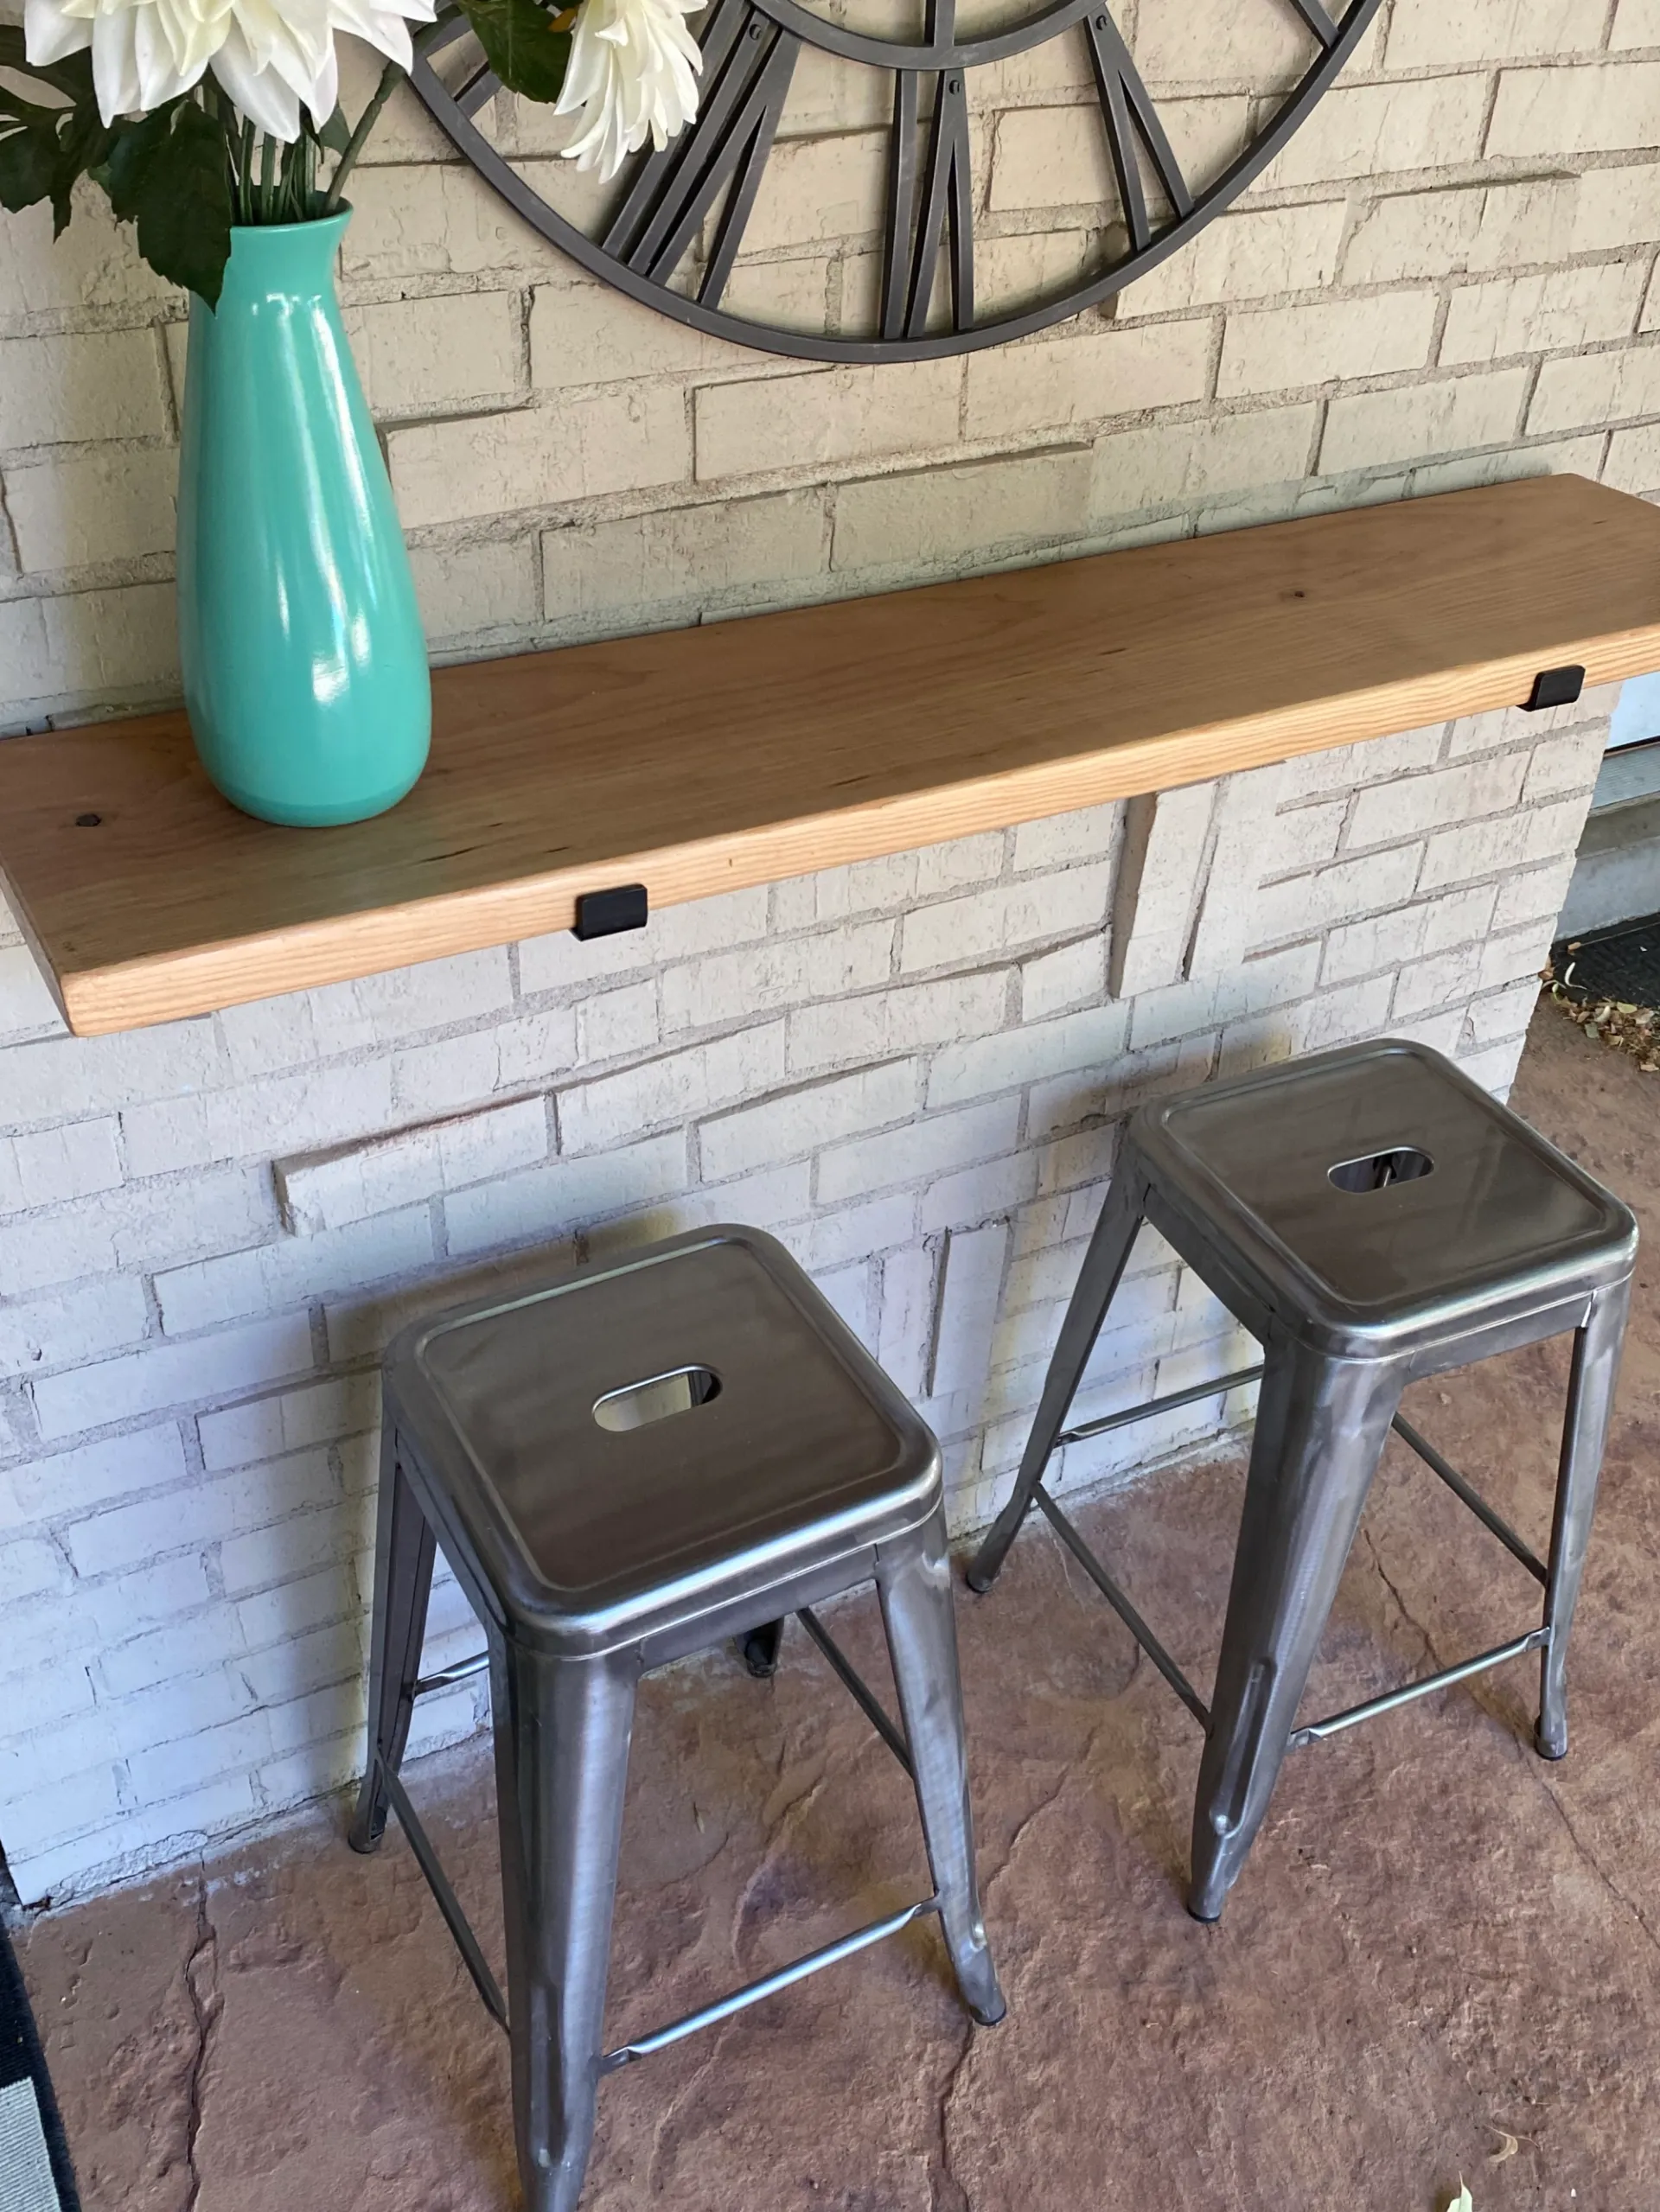
I also had two bar stools lying around, bored as can be, so I thought “WHY DON’T WE MAKE A LITTLE BAR HERE?!” Wanna see the “after”???!!! I just can’t wait to show you, so HERE IT IS, with some weirdo posing by it.
AFTER:
Here’s how we did it…
Supplies:
*NOTE: this post contains affiliate links, which means I could earn a small commission (at no extra cost to you) if you purchase through my links.
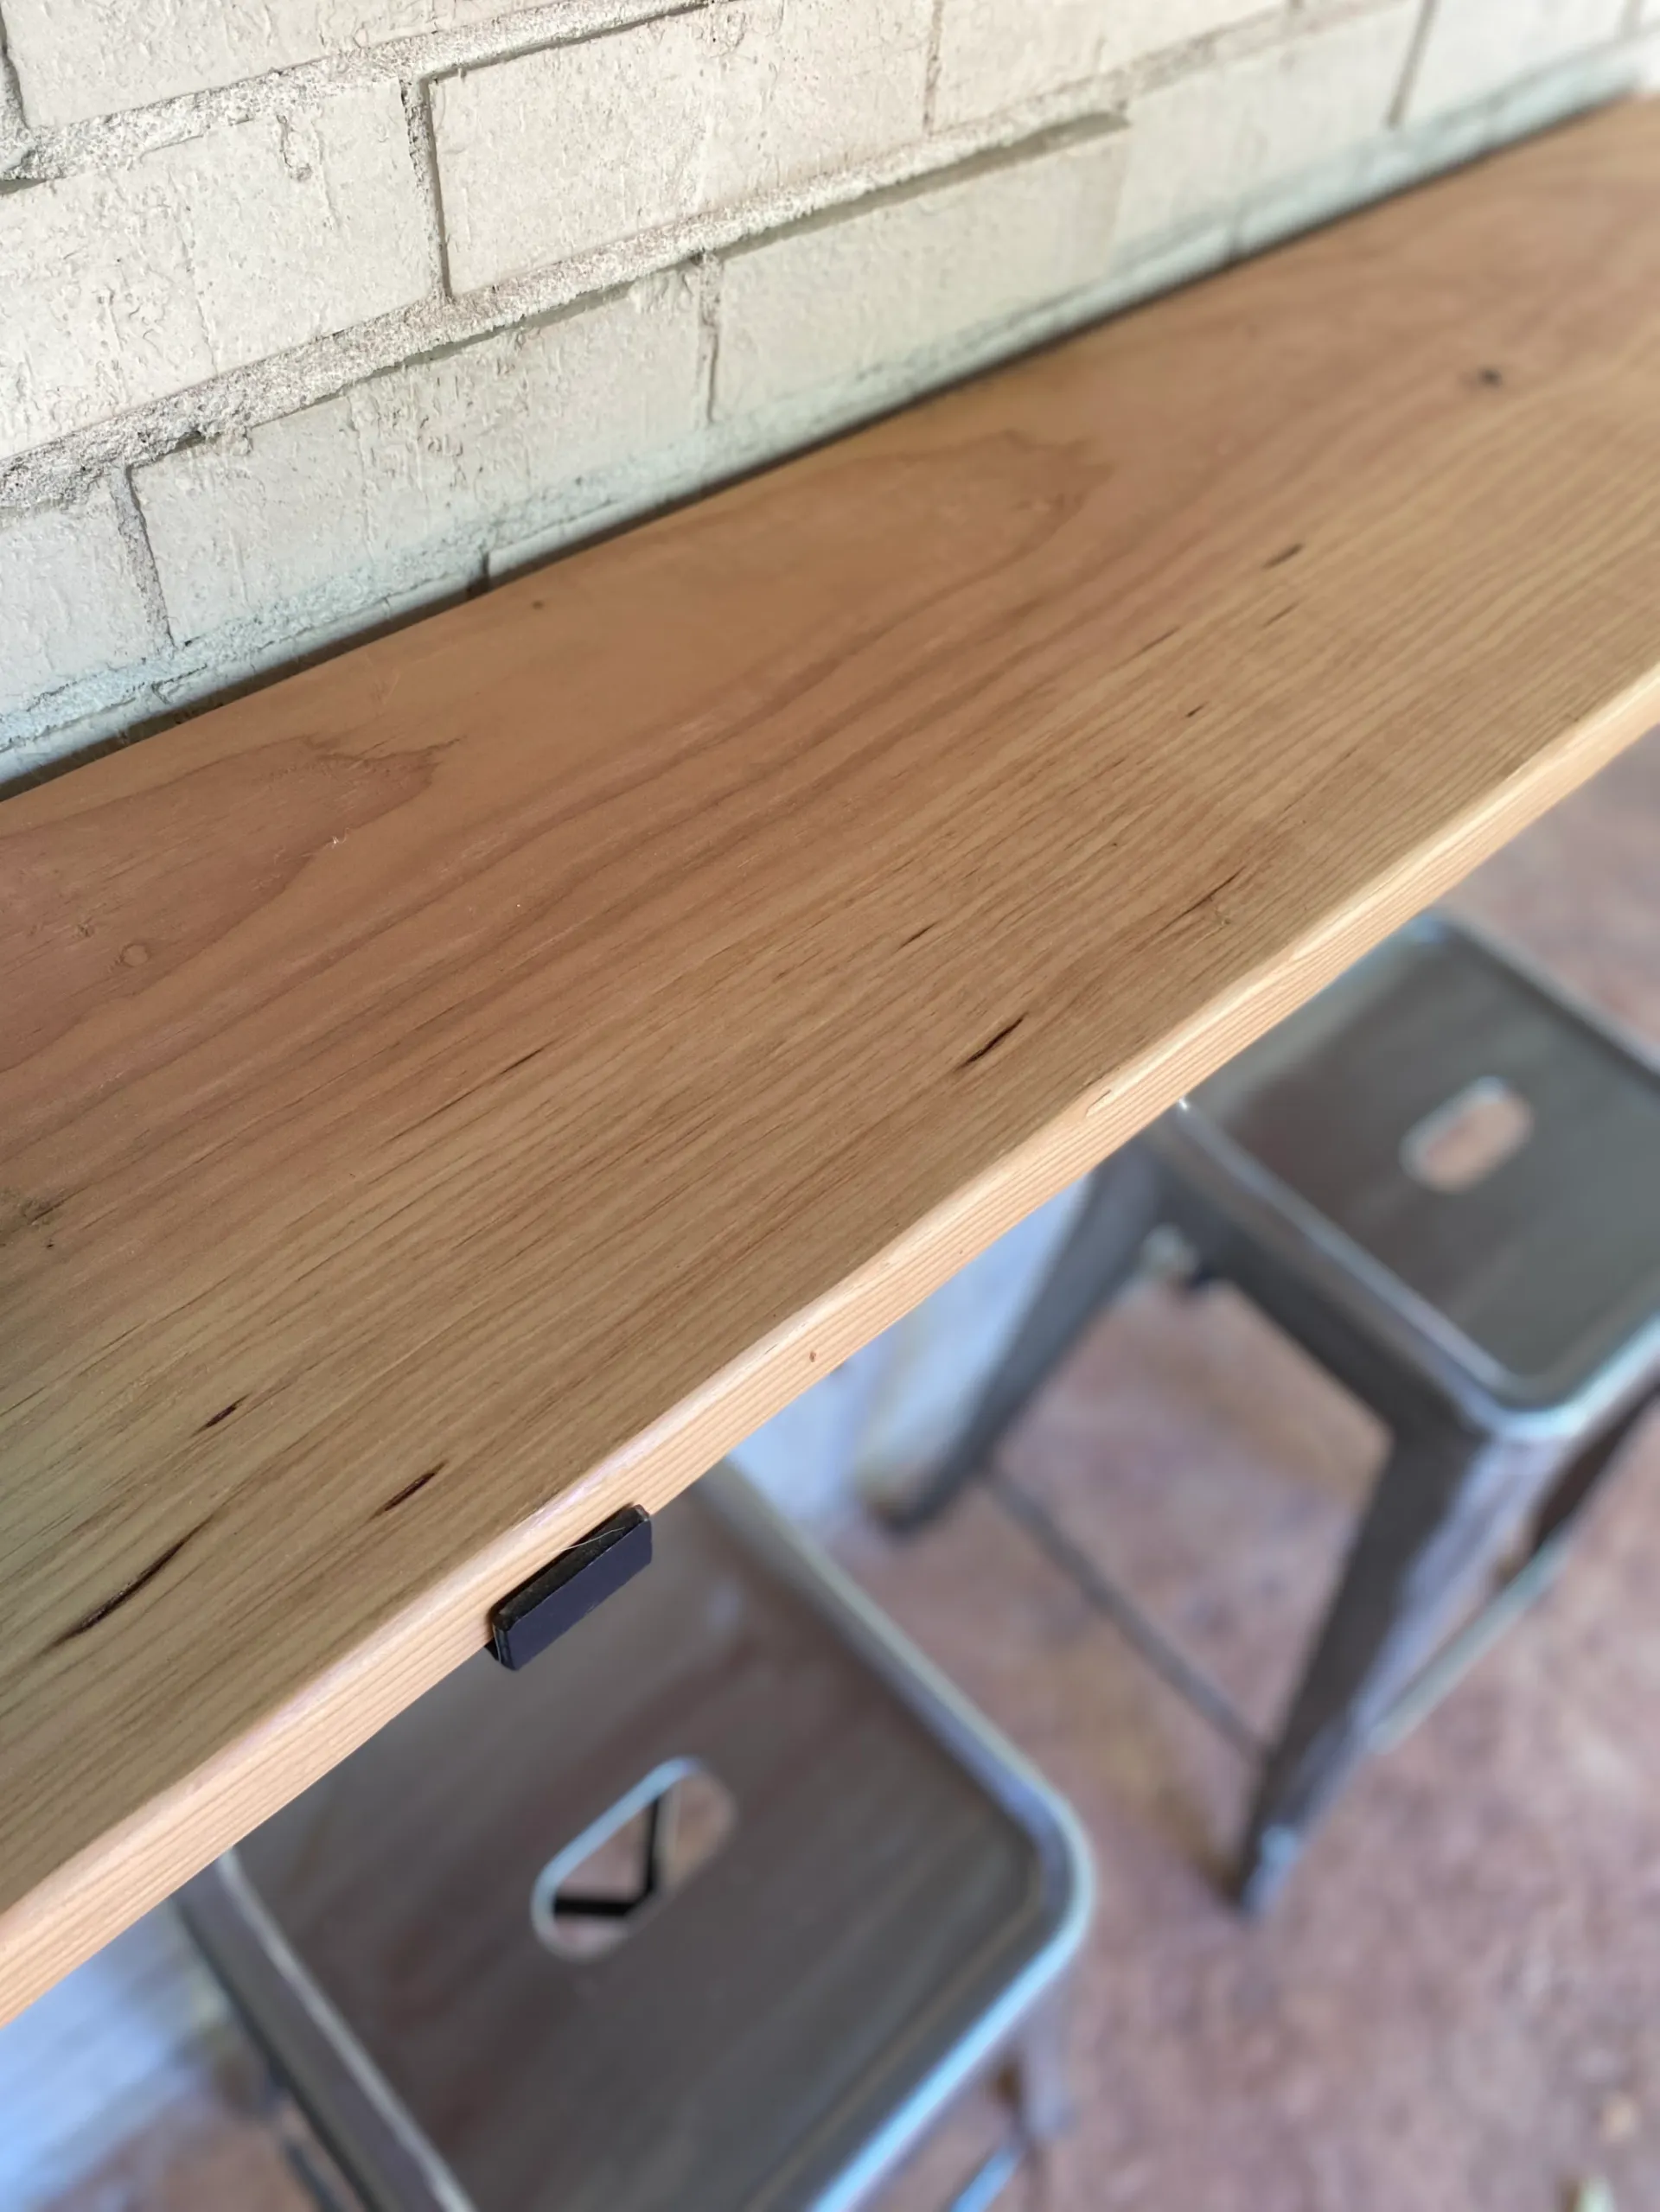
- Buy a piece of wood – any kind you’d like! Ours is 11″ wide x 1.5″ thick.
- Buy these heavy duty shelf brackets – we bought a 6 pack cause we have plans for more of these easy-shelves. Why not?! Important Note : Usually a store, like Home Depot, sells a 12-inch wide wooden board that is actually 11.2 – 11.4″ wide, if you measure it. Confusing, right?. This bracket will fit that actual size of 11.2 – 11.4″ wooden board.

That’s it!
Now, here’s what to do:
- Determine how long you need the board to be to fit your space.
We bought a 12 foot piece of wood, so were able to cut it in 3 equal pieces of 4 feet each, which was perfect for this section of the brick wall. And now we still have two extra boards ready for those extra brackets – perfecto!
- Sand your board – sand it like there’s no tomorrow. Get that thang smooth as can be! We have a small mouse sander like this that I LOVE! It’s so much more efficient than sanding by hand, although I did a little of both.

- Stain or protect the board, however you wish.
I wanted to keep the natural look of the wood, so I chose to add several coats of Polyurethane Clear Satin
to protect the wood and make it a little more weather resistant. You could also stain, paint, or white wash the wood – whatever look you’re going for!
- Measure how tall your board will go, and mark out where the brackets should be.
FYI: a bar-height table is between 40-42 inches high. A counter-height table is between 34-36 inches high. You decide!
- Then, get your hot handy husband (or pick up the tools yourself if you’re amazing like that)and screw it into the wall and/or brick.
It’s a little trickier with brick, like we did. Cory had to use a masonry drill bit to make a hole, then added wall anchors, and then screwed it into the anchors. If you’re doing this to a wall, it’ll be much easier than brick, but doable either way!
- Add some decor and/or something fun above the bar and Voilà!
I bought this cute outdoor clock on Amazon here
. Now we (and the rest of our backyard neighbors) can know what time it is at all times! ha!


So cute and so easy, right?! I got this idea at my hair dressers salon (Thanks Em!). You never know where you’ll get inspired next!
What do you think? Will you attempt something like this in your home or patio? You. can. do. it.
Huge hugs!
~ Kara

Questions/Comments?...if so, please email me
here.
Disclaimer: Happy Place Happy Face is a participant in the Amazon Services LLC Associates Program, an affiliate advertising program designed to provide a means for sites to earn advertising fees by advertising and linking to Amazon.com. A.K.A. I could earn a small commission, at no extra cost to you, if you purchase items through my links.XO!

Thanks for stopping by this happy little corner of the internet.